A Sticky Situation - Homemade Blackberry Jam
- Oct 8, 2019
- 3 min read

After spending some time at home in the countryside I decided to make my own jam. This is something I have wanted to do for a long time but always thought it was too difficult and that I didn't have the right equipment.
In fact, jam (or more accurately, conserve), is incredibly easy to make. The jam I made was delicious and set perfectly. So here is a step by step guide and recipe for how I made it.
This recipe will make 4 jars of jam but could easily be halved or doubled if wished.
Ingredients:
900g of blackberries
750g of jam sugar
One lemon


I started at the source and went blackberry picking. Ripe blackberries are of course black and should pull off the bush with ease. Learn from my mistakes people and wear gloves. Blackberry picking was not only messy but somewhat painful. I ended up with lots of tiny thorns in my fingers.
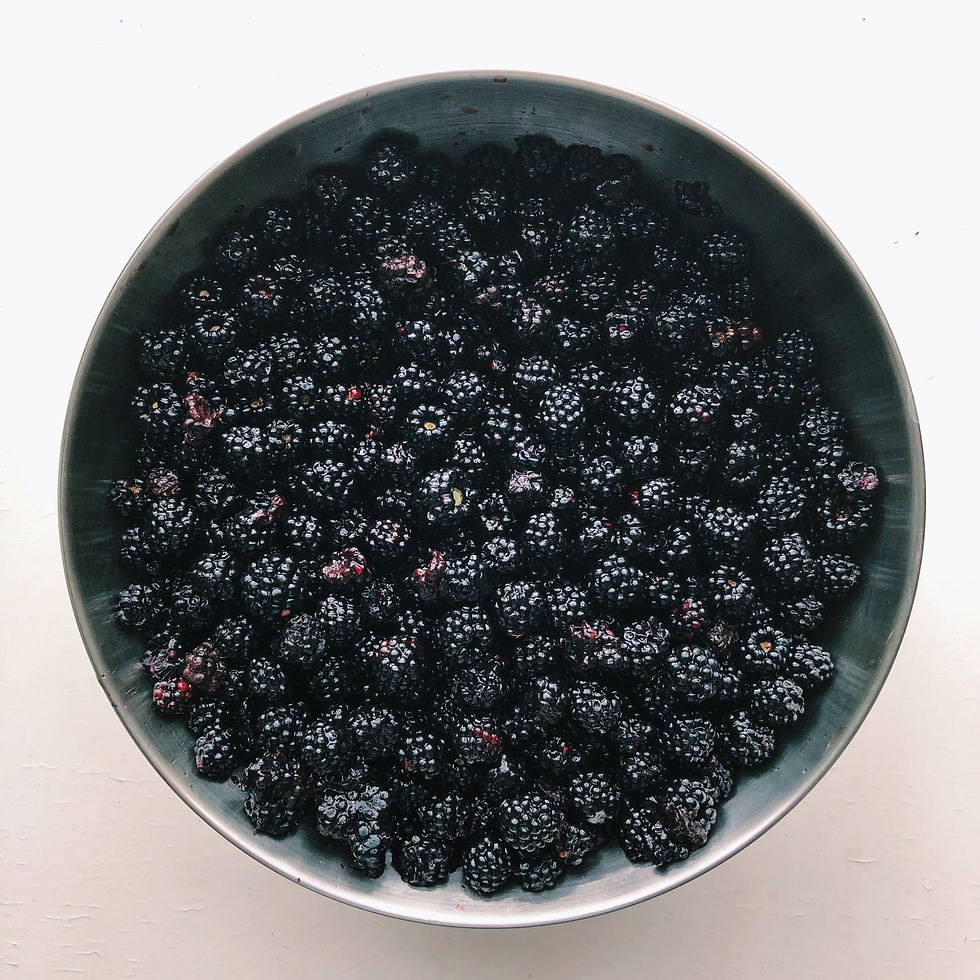
Next I washed and separated the Blackberries from any twigs or leaves that had been collected along with them and let them drain.

I weighed out 900g of blackberries and set them aside.

For this recipe I used Jam sugar which can be found in most large supermarkets. It contains added Pectin which will help the jam to set. I weighed out 750g of sugar and set aside.

In a large mixing bowl I layered the blackberries and sugar. I covered the bowl and set it aside overnight. This helps the fruit juice to leak into the sugar and helps the sugar begin to dissolve which will help to not overcook the fruit.

The next morning the blackberries should have bled into the sugar. I gave it a quick stir. I then placed a small plate or saucer in the freezer to be used later.

I cut a lemon in half and removed all the pips adding them to a tea strainer. You could also use a muslin cloth or teabag to hold the pips.

I added the contents of the bowl to a large frying pan. The wider and more open the pan the faster the jam will be ready. I added the juice of half a lemon and the tea strainer filled with lemon pips. Lemon pips contain natural pectin, so cooking them with the jam will help it to set.

I started the blackberries on a low heat until all the sugar was dissolved. I then bought it to the boil and let it simmer for around 5 minutes. I then removed the pan from the heat.

I spooned a little of the hot syrupy jam onto the cold saucer from the freezer. I allowed to to cool and then pushed it with my finger. The jam is ready if the syrup wrinkles when you push it. If it is too runny to wrinkle then repeat the step above, bring the pan to the boil and let it simmer before repeating the saucer test. I repeated theses steps 4 times as i wanted to make sure the jam was well set.

Once the jam had wrinkled on the saucer, I removed the pan from the heat and let it sit for 15 minutes to cool. The mixture should wrinkle and be syrupy as you stir it in the pan at this point. I removed as much of the pink scum from the top of the jam as possible. A good technique for this is to glide a shallow spoon along the surface of the jam while gently bobbing it up and down to avoid picking up too many blackberries.

I placed the contents into 4 clean jam jars and placed them in the fridge. Don't worry if the jam is still very runny when you place it in the jars. leaving them in the fridge overnight will allow them to cool and set.
I then created some labels and fashioned some rustic air seals using brown paper and elastic bands to help preserve the jam for longer but mostly because they look adorable
This is a general formula for jam making that can be used with any fruits that have medium to low natural pectin levels. I hope this recipe was helpful and might inspire some of you to create your own jam. I had no idea how easy it was but the outcome is delicious and very rewarding.
If you do decide to try this or any of our recipes please let us know because we always love to hear from you all!


Comments